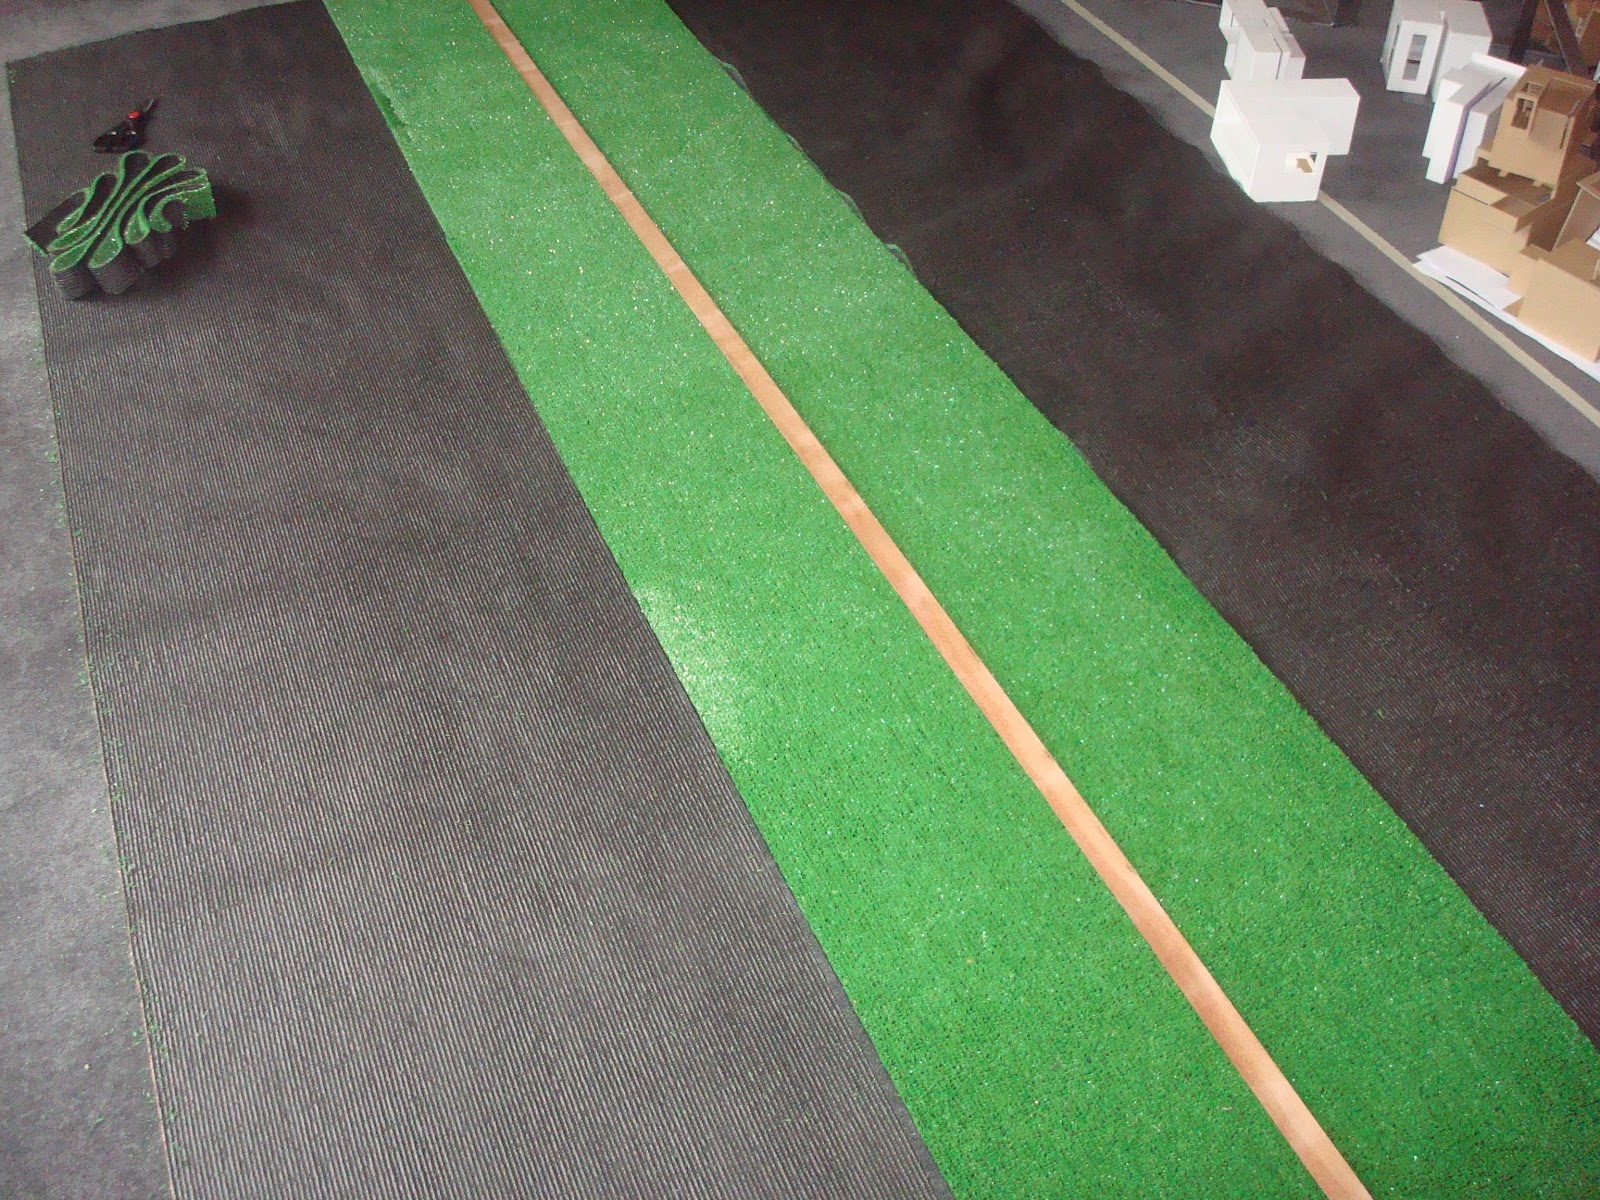
We managed to get a good price for 3m of astro turf. Sewing together scrap pieces would have been too time consuming for us anyway. This bought piece we cut into three lengths, which will sit under each see-saw. The astro turf is a very interesting material for us to use, as it is an artificial interior expression of something associated with the exterior. Cutting it into strips also has made it look rather pristine and controlled. Hopefully the green of the fake grass will be an effective contrast to the white of the gallery, as well as providing further protection to the gallery floor. Possibly the rubber could be concealed by the fake grass, or we could cut into the grass to hold the rubber pieces in place. At this stage we are a little concerned about the fact that it could fray at the edges we have cut, and thus become quite messy. When we have the time we will need to make sure that we sew down the sides to hold everything in place.
A key concern of ours is the impact of the hard, heavy wood as it comes down upon the floor. We travelled out to Para Rubber today to try to find something to absorb the impact. The black rubber is incredibly strong and we feel confident that this will do the trick. The grey foam should absorb some of the sound.
The edges of the wood proved to be very sharp when handling, and we were concerned they could be a hazard- so we bevelled all of the edges. Both practically and aesthetically this was a good decision.
Velvet speaks of luxury in a strong way, which at this stage we believe would be great for our design. It is really a matter of finding appropriate colours. Today we discovered some velvet-like fabric in bright colours which has a really fun, playful quality to it. The question is whether or not the luxury therefore gets lost in these bright colours. It is those deep, rich shades where luxury is suggested in velvet. So do we still stick with the velvet or change altogether and go with a different type of fabric- something bright and colourful and maybe even non-velvet?


.jpg)
.jpg)


